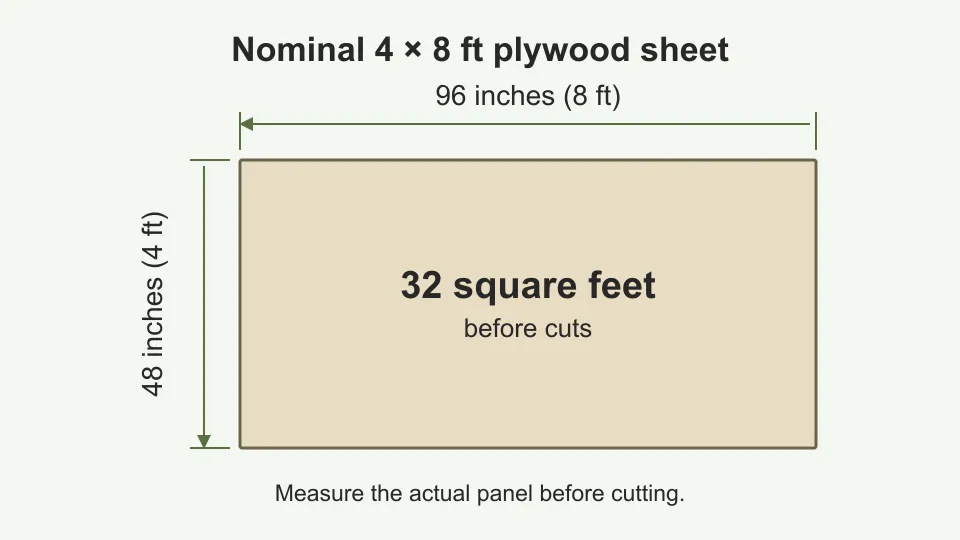
A standard sheet of plywood is nominally 4 feet wide and 8 feet long, or 48 by 96 inches. That gives you 32 square feet before cuts. It’s the size you’re most likely to plan around for a home repair.
There’s one catch when you need a close fit: the size on the label may not be the exact size of the panel. Measure the sheet before laying out your cuts.
Plywood sizes at a glance
| Nominal sheet size | Dimensions in inches | Area before cuts |
|---|---|---|
| 4 × 8 feet | 48 × 96 inches | 32 square feet |
| 4 × 4 feet | 48 × 48 inches | 16 square feet |
| 2 × 4 feet | 24 × 48 inches | 8 square feet |
| 2 × 2 feet | 24 × 24 inches | 4 square feet |
Smaller project panels can be easier to carry through a house. Stock varies by store and plywood type, so check availability before designing around a particular size. Specialty suppliers may offer other dimensions.
The exact conversion of 48 by 96 inches is 1,219.2 by 2,438.4 millimeters. A panel sold as 1,220 by 2,440 millimeters is close, but those numbers aren’t interchangeable when a cut has to fit.
Why a 4-by-8 panel may measure a little smaller
APA, the engineered wood association, explains that panels marked “sized for spacing” are made slightly smaller than their nominal dimensions. That allows for the specified space between adjacent panels. Its plywood guide explains the marking.
For a cabinet repair, measure the opening and the actual replacement panel. For sheathing or subfloor work, follow the required panel spacing and fastening details. Don’t force panels tightly together just to make the nominal measurements add up.
Thickness is a separate choice
A sheet’s width and length don’t tell you how much weight it can support. Thickness, grade, support spacing, and the way it is fastened all matter.
Read the thickness or Performance Category printed on the panel. For example, a panel marked 23/32 inch should not be treated as an exact 3/4-inch spacer. If you’re matching an old shelf or cutting a groove, measure the actual material with a caliper or a careful tape measurement.
There is no single “standard thickness” that suits every repair. A cabinet back and a load-bearing subfloor have different jobs.
Read the stamp before choosing a panel
APA’s plywood guide identifies the markings to check, including panel grade, span rating, and bond classification. These are more useful than judging a structural panel by how smooth it looks.
Moisture labels deserve particular care. APA distinguishes Exposure 1, intended for limited moisture exposure such as construction delays, from Exterior, intended for long-term weather exposure. An Exposure 1 panel is not an exterior-use panel simply because someone calls it “CDX.” See APA’s explanation.
Work out cuts before buying sheets
Suppose you need two pieces that are each 24 by 48 inches. Their combined area is 16 square feet, but you still need a cut plan that accounts for the saw blade and the actual sheet size. Two exact 24-inch widths won’t come out of an exact 48-inch width without losing material to the cut.
Sketch each piece on the sheet outline. Mark the grain direction if appearance matters, and leave room for trimming damaged edges. Area alone can underestimate waste.
For a repair, bring a photo, the opening measurements, and any readable panel stamp to the supplier. If you’re replacing a damaged cabinet or floor section, identify why it failed before choosing the new plywood. A thicker sheet won’t solve an active leak or missing support.
Need a Handyman You Can Trust?
Tell us what needs fixing. We’ll help you get a fair quote for the work.