Sliding patio doors are often described with familiar sizes such as “six-foot door.” That is a starting description, not enough information to order a replacement.
The nominal size, outside frame size, rough opening, and clear walk-through opening are different measurements. Use the size chart for the exact door series you’re buying.
Four measurements that shouldn’t be mixed up
| Measurement | What it describes |
|---|---|
| Nominal size | The name or size category used to identify a door |
| Unit or frame size | The outside dimensions of the assembled frame |
| Rough opening | The opening in the building that receives the unit |
| Clear opening | The usable opening with the operating panel open |
A two-panel slider’s clear opening is smaller than its full frame width because one panel normally remains in place. If you need room for furniture or an accessibility requirement, ask about clear opening dimensions explicitly.
A real size-chart example
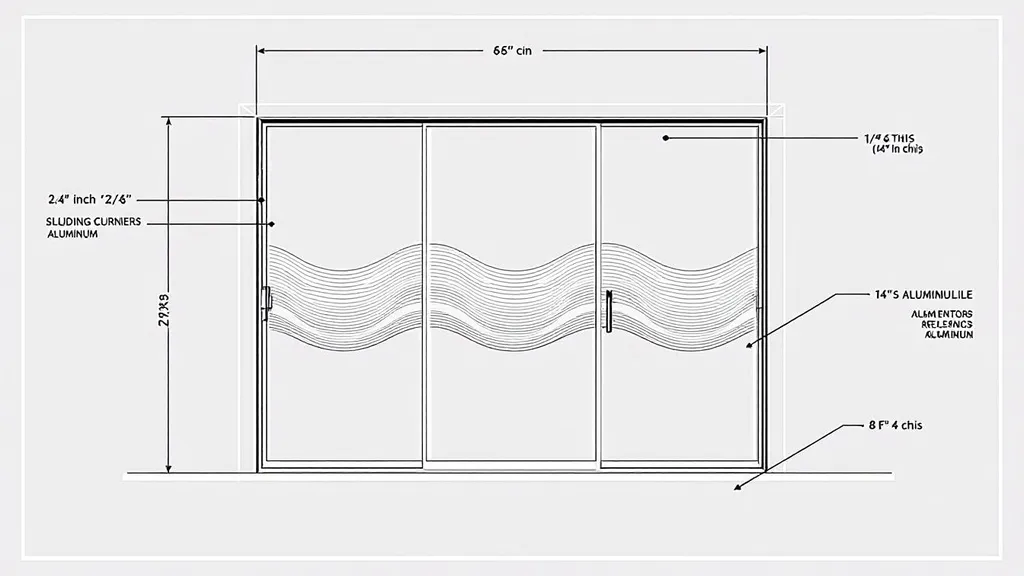
Andersen’s 200 Series Narroline chart lists the NLGD6068 two-panel door at 5 feet 11¼ inches wide by 6 feet 7½ inches high. Its listed minimum rough opening is 6 feet wide by 6 feet 8 inches high.
Those dimensions come from Andersen’s Narroline sizing chart. The chart also notes that installation materials can require a larger opening. Don’t transfer those allowances to a different brand or series.
This example explains why a door called “six foot” may not measure exactly 72 inches across its frame.
Measure for a conversation before measuring for an order
For an initial quote, record the visible frame width and height without removing anything. Photograph the entire door inside and outside, plus the threshold. Look for a manufacturer label or etched product information.
Label your measurements so the installer knows what you measured. “Visible frame, outside edge to outside edge” is more helpful than “door width.”
The installer may need to inspect behind trim to confirm the rough opening and the condition around it. Let that verification happen before ordering. Hidden damage or an uneven opening can change the installation plan.
Record operation and access
Describe which panel moves and from which side you are viewing it. Manufacturers can use different handing conventions, so include a photo or marked sketch rather than relying only on “left-hand.”
Also note the route into the property. A large replacement unit needs enough handling space, and access through a gate or up steps may affect the work.
If the existing opening is being widened, that’s a different project from replacing a unit within the same opening. Structural work, permits, and design requirements need to be established by the appropriate professionals.
Ask about the whole replacement
A useful quote identifies the exact door model and size, removal of the old unit, installation materials, and trim work. Ask how the threshold and surrounding wall will be weather-protected.
Painting, disposal, and repair of hidden damage should have a clear place in the scope. The lowest door-only price may exclude work that another quote includes.
Before buying, send us the door photos, measurements, and product you’re considering. We can review whether the opening and installation scope need an in-person assessment.
Need a Handyman You Can Trust?
Tell us what needs fixing. We’ll help you get a fair quote for the work.