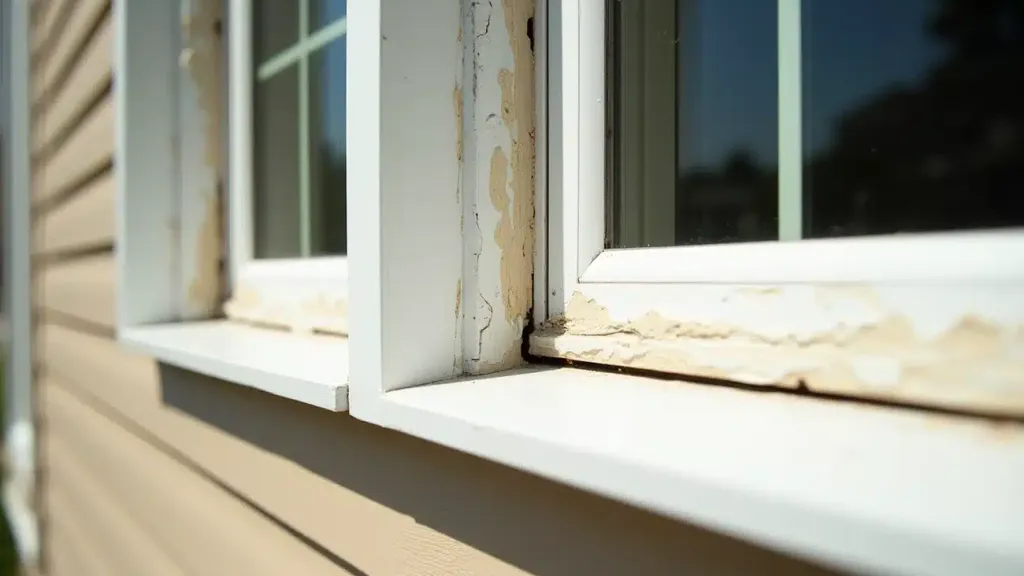
Don’t caulk window drainage openings or moving parts. Small holes or gaps near the bottom of a frame may be there to let water escape. Filling them can interfere with the way the window manages water.
The right sealant location depends on the window and its installation. A rule such as “always seal the whole bottom” or “never seal any bottom joint” is too broad.
Identify the opening before sealing it
| Location | What to check |
|---|---|
| Weep holes or drainage slots | Keep the intended drain path open. |
| Tracks and moving sash joints | Don’t glue moving parts in place with caulk. |
| Perimeter joint between frame and wall finish | Follow the window and sealant instructions for that installation. |
| Flashing or trim overlap | Establish how it drains before adding sealant. |
| Soft or wet wood | Investigate the moisture and damage before covering the joint. |
A photo of the full window helps establish what you’re looking at. A close photo of one gap can leave out the drainage route around it.
Manufacturer details can differ
Andersen’s 100 Series gliding patio door installation guide illustrates the distinction: it specifies perimeter sealant and separately requires weep holes to remain open.
That is a patio-door example, not an instruction to copy onto your window. It shows why a perimeter joint and a drainage hole need to be identified separately.
For windows, use the guide for the exact series and installation type. Andersen’s E-Series window guide, for example, gives specific directions about sealant over flange nail holes. Other details may differ.
Caulk isn’t the answer to every leak
Water at an interior sill may come from failed perimeter sealant, another part of the wall, damaged flashing, or condensation. The place where water becomes visible isn’t always the entry point.
Record when the problem occurs. Does it follow wind-driven rain? Does it appear on cold mornings? Are stains above the window as well as below it? Those observations help narrow the investigation.
Don’t bury soft trim or damp drywall under a fresh bead. The source and extent of damage need to be understood first.
Prepare only the joints that should be sealed
Once the joint is identified, choose a sealant approved for the materials and exposure. Painted trim and bare vinyl or metal may need different products.
Remove failed sealant and residue as the product instructions require. Applying a new bead over a loose old one leaves the same weak bond in place. Our guide to caulking over old caulk explains the limited product-specific exceptions.
Check the application temperature, surface dryness, and cure conditions before starting. Don’t block drains while masking or tooling the joint.
Get a recurring leak assessed
If you’re unsure what a gap does, leave it open until you can identify it. Avoid drilling new drainage holes or cutting parts of the frame based on a generic guide.
Send Smart Fix photos of the whole window, the gap, and any interior staining. Include when the water appears. We can review whether the request fits a sealing repair or needs a window specialist to investigate the assembly.
Need a Handyman You Can Trust?
Tell us what needs fixing. We’ll help you get a fair quote for the work.