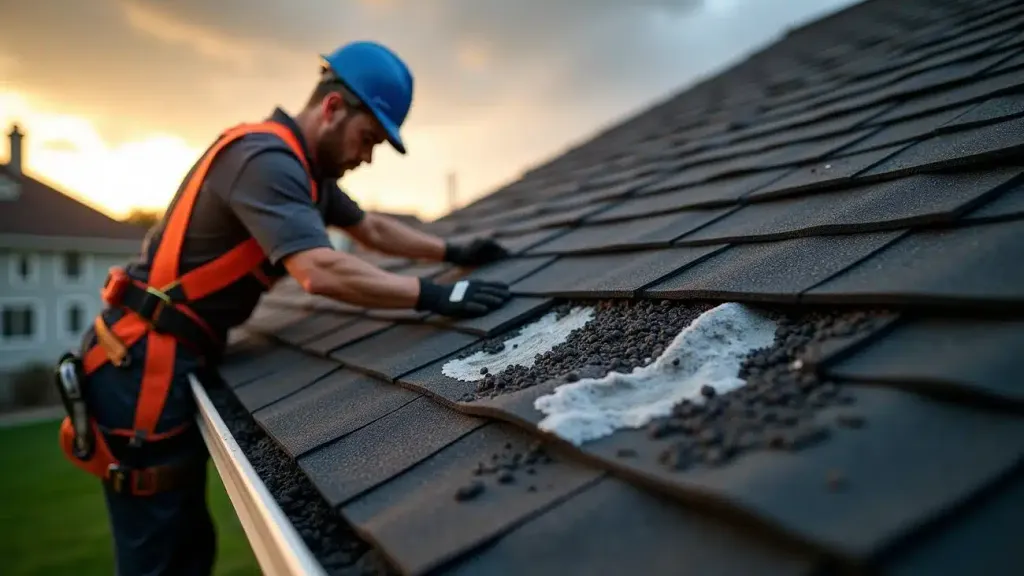
After a storm, check your home from a safe position on the ground. Look for changes you can document, then have a qualified roofing contractor assess anything concerning.
You don’t need to climb onto the roof to make the first call. Wet surfaces, loose materials, and damage you can’t see can make access hazardous.
Wait until the immediate danger has passed
Stay clear of downed lines, hanging branches, and unstable structures. If there is an immediate electrical or structural hazard, keep people away and contact emergency services or the utility as appropriate.
Inside, avoid rooms with a sagging ceiling or water near electrical equipment. Don’t enter an attic that may have damaged framing or wet wiring.
Arrange emergency weather protection through a contractor with the equipment to do it safely. Don’t climb up to put on a tarp yourself.
What to document
| Where to look safely | What to record |
|---|---|
| Roof visible from the ground | Missing or displaced material, debris, or a change in the roofline |
| Yard and driveway | Pieces of roofing or damaged exterior components |
| Gutters and downspouts | Visible separation or damage, without climbing to inspect them |
| Interior ceilings and walls | New stains, dripping, peeling, or changes since the storm |
| Accessible windows and doors | New leaks or damage around openings |
Take a wide photo to show the location, then a closer photo if you can do so safely. Record the date and when you first noticed the issue.
A stain or dent is a clue, not proof of the cause. Hail size alone also cannot establish whether your roof was damaged.
Ask the roofer to inspect the system
A roof includes more than the visible shingles. Owens Corning’s contractor checklist recommends assessment of the full roofing system, including flashing and penetrations.
Ask for photos and a written explanation of the findings. Have the contractor distinguish a repairable area from a recommendation for broader replacement.
The proposal should identify materials, removal, disposal, and any hidden-damage process. Ask who handles permits where required and what the warranty covers.
Keep insurance questions separate from the repair diagnosis
Document the damage and contact your insurer for the claim process. The Texas Department of Insurance’s storm-damage guidance provides a starting point.
Coverage and the amount paid depend on your policy and circumstances. TDI’s roof insurance guidance explains why roof age, deductible, and policy terms matter. A contractor’s opinion that a roof needs work does not guarantee payment for a full replacement.
Keep photos, estimates, receipts, and communications together. Ask the insurer what it needs before permanent repairs, while arranging any necessary steps to prevent further damage safely.
Repair the interior after the source is addressed
A dry-looking stain doesn’t prove the roof problem is solved. Have the moisture source corrected and affected materials assessed before patching and painting.
Smart Fix can review ordinary interior finish repairs after the roof and moisture work are complete. Our drywall repair cost guide shows how the scope can include more than the visible ceiling patch.
For the roof itself, begin with a qualified roofer and a documented assessment.
Need a Handyman You Can Trust?
Tell us what needs fixing. We’ll help you get a fair quote for the work.