Choosing what grit to sand drywall can make or break your finish work. Most drywall projects need sandpaper in the 150-220 grit range for that smooth, paint-ready surface. We found that starting with the wrong grit often leads to time-wasting mistakes and poor results. This becomes more clear when you see how different sanding methods need different approaches.
For hand sanding, we start with 100-120 grit paper for the first pass, then move to 150 grit for better results. Power sanding works differently – it needs finer 150 grit to start, then 180-220 grit for the final smooth finish. Wet sanding with a sponge cuts down on dust and works great for corners where regular sandpaper cannot reach. Using the right tools like pole sanders helps cover large areas and high walls without strain.
The numbers on sandpaper tell us how rough or smooth the paper will be. Coarse grits between 40-60 remove material fast, while medium grits from 80-120 prepare the surface for finer work. Fine grits from 150-180 provide that smooth finish before painting. Very fine grits from 220-240 work best for final touch-ups when you want a perfect base for high-gloss paint. Safety matters too – the dust from drywall can hurt your eyes and lungs if you skip protective gear.
Understanding Sandpaper Grit for Drywall

Image Source: Empire Abrasives
“Higher numbers indicate a finer grit sandpaper, while lower numbers indicate a coarser grit. It is crucial to choose the right grit, as using sandpaper that is too fine or too coarse can result in suboptimal results.” — All Painting Ltd, Professional painting and drywall contractor
Sandpaper grit refers to the size of abrasive particles attached to the sandpaper. The particles come in various sizes measured by a number known as the “grit.” Numbers on sandpaper packaging tell you how coarse or fine that particular sheet will be. Lower numbers like [40-60 represent bigger abrasive particles](https://www.grainger.com/know-how/equipment/kh-video-sandpaper-grit-chart) that remove material quickly, whereas higher numbers like 150-220 indicate smaller particles that create smoother finishes.
What grit numbers mean
Grit measurement works on a numerical scale that shows the density of abrasive granules on the sandpaper surface. A 100-grit sandpaper has 100 sand particles per square inch, making it medium coarseness. As the grit number increases, the sandpaper becomes finer because there are more grains packed into the same space. The grit system follows standards set by organizations like CAMI (Coated Abrasives Manufacturing Institute) and FEPA (Federation of European Producers of Abrasives). This standardized system helps homeowners and professionals select the right sandpaper for specific drywall tasks.
Why grit size matters for drywall
Selecting the wrong sandpaper grit can ruin your drywall project in seconds. Sandpaper that’s too coarse (below 80 grit) can scratch or even tear the drywall paper facing. Paper that’s too fine makes removing joint compound incredibly time-consuming and tiring. The right grit allows you to work efficiently without damaging the surface underneath. Proper grit selection also affects how well paint adheres to the surface afterward, which impacts the final appearance of your walls.
Common grit ranges used in drywall sanding
Most professional drywall finishers use specific grit ranges for each stage of the project. Medium grits (80-120) work well for initial sanding to remove excess joint compound and smooth uneven areas. Fine grits (150-180) are perfect for intermediate sanding and preparing the surface for painting without leaving visible marks. Very fine grits (220-240) handle final touch-ups and create surfaces ready for high-sheen paints that would otherwise highlight imperfections. Extra-fine grits (320 and above) are rarely needed but sometimes used for ultra-smooth finishes on high-end projects.
The specific grit you choose also depends on your sanding method. Many professionals recommend 150-grit sandpaper for general drywall work since it strikes a good balance between material removal and surface smoothness. For manual sanding, slightly coarser paper (100-120) often works better since you apply less pressure than power tools. Conversely, power sanders require finer grits (150-180) to avoid removing too much material too quickly.
Choosing the Right Grit for Each Sanding Stage
“For initial sanding, 80-120 grit sandpaper is recommended. This range is effective for smoothing the joint compound and seams without being too abrasive. For final sanding, using 150-180 grit sandpaper helps achieve a fine, smooth surface ready for painting.” — Timothy’s Toolbox, Professional drywall tool supplier and industry expert
Selecting the proper sandpaper grit for each drywall sanding phase makes the difference between professional results and amateur mistakes. Pros follow a methodical approach through multiple sanding stages, each requiring specific grit ranges. This stage-by-stage system prevents common problems like visible scratches or wasted effort. Following this progression helps you work efficiently from rough sanding to a paint-ready finish.
Initial sanding: 80 to 100 grit
The first sanding pass requires medium-coarse sandpaper between 80 and 100 grit to tackle the biggest imperfections. At this stage, your goal is to remove excess joint compound and level uneven areas without damaging the drywall surface. This initial sanding step can often be skipped if your joint compound application was well-feathered and relatively even. Semi-coarse paper efficiently cuts through dried compound and removes larger bumps. For manual sanding, 100 grit paper works well for this first pass.
Intermediate sanding: 120 to 150 grit
After removing major imperfections, move to intermediate sanding with 120 to 150 grit sandpaper. This medium grit range refines the surface and prepares it for final smoothing. Many professionals use 150-grit sandpaper for most of their work since it balances efficient material removal with surface quality. For hand sanding, 120-grit followed by 150-grit creates progressively smoother surfaces. A pole sander fitted with 150-grit paper or screen does an excellent job on approximately 95% of taped surfaces.
Final sanding: 180 to 220 grit
Final sanding requires fine-grit sandpaper between 180 and 220 to create a smooth surface ready for painting. This stage removes any remaining minor imperfections and smooths out scratches from earlier sanding. For areas where an ultra-smooth finish matters, use 180 or 220-grit to eliminate any scratches in the compound. Hand sanders with 220-grit work perfectly around electrical outlets and for feathering compound into walls. This final pass ensures no visible sanding marks remain.
Optional ultra-fine sanding: 320 grit and above
For premium finishes, particularly with high-gloss paints, ultra-fine sanding with 320 grit or higher creates flawless results. This optional step is typically reserved for high-end projects where even tiny imperfections would be visible. Products like SandNET™ sheets with 320-grit provide up to 10x longer life versus standard sanding sheets. These ultra-fine grits work exceptionally well for intercoat sanding between paint applications or for level 5 finishes. Nevertheless, this step can be time-consuming and risks over-sanding if not done carefully.
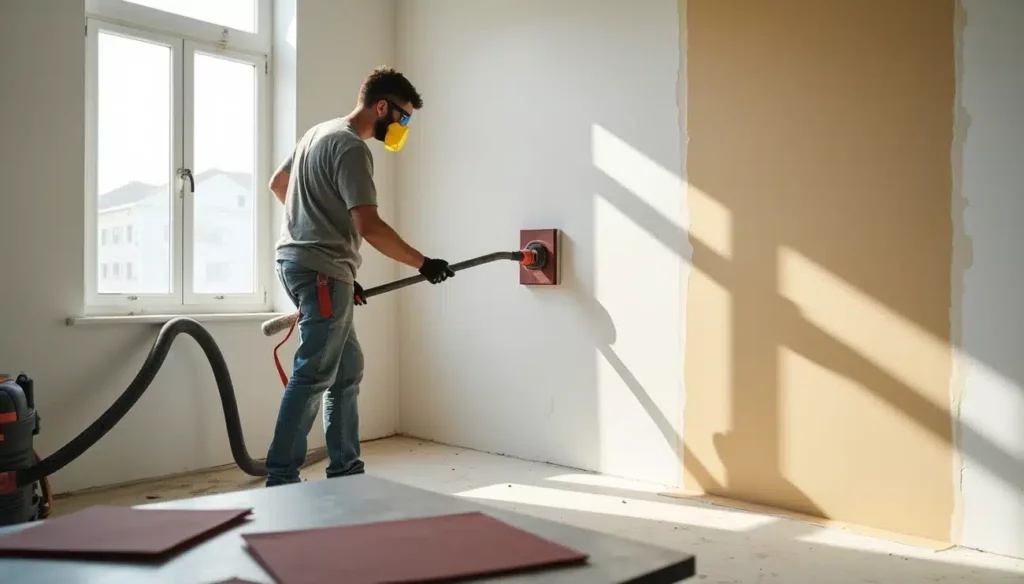
Manual vs Power Sanding: Grit Selection by Method
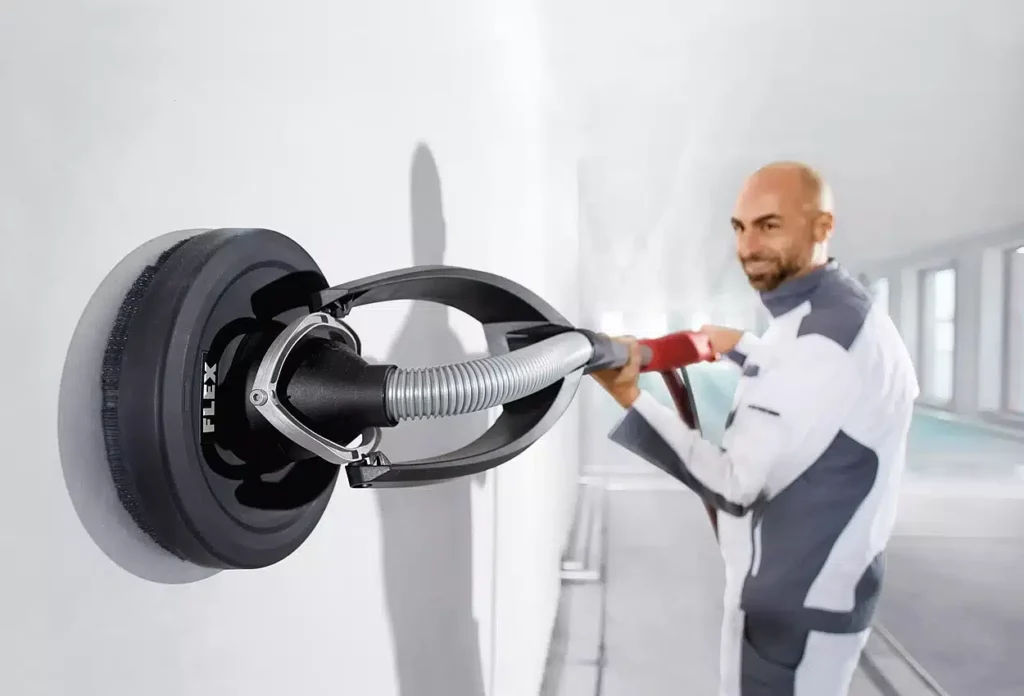
Image Source: Drywall Tools Direct
Sanding methods change which grit sandpaper you need for drywall. Hand sanding works differently from power sanding, and knowing when to use each method saves time. The right approach depends on your project size, location, and personal preference. This section breaks down what sandpaper grit to use based on your sanding method.
Manual sanding grit guide
Hand sanding requires coarser grits than power sanding because you apply less pressure. For small projects, start with 100 to 120 grit sandpaper to remove excess joint compound. Most professionals then move to 150-grit for smoother results before painting. Hand sanding tools include sanding blocks, sponges, and pole sanders for reaching high walls and ceilings. A standard push-pull motion works best on flat seams, while a circular buffing motion helps feather edges between seams and walls. Sanding sponges with fine grit work well in corners where regular sanders cannot reach.
Power sanding grit guide
Power sanders remove material faster, so start with finer grit than manual sanding. Begin with 150-grit sandpaper to prevent damaging the drywall surface. Move to 180-grit or 220-grit for final smoothing before painting. Orbital sanders work well for large projects but require careful handling. Use light pressure and keep the sander moving to avoid creating divots. Some power sanders include vacuum attachments that collect dust as you work. For best results, check your work frequently to prevent over-sanding.
When to switch between methods
Switch to hand sanding for detail work around electrical outlets and inside corners. Power sanding works better for large flat areas like entire walls or ceilings. Project size often determines the best approach—small patches work well with hand methods while rooms with multiple walls benefit from power tools. Sometimes a combination works best: power sanding for 90% of the job, then hand sanding for details and touch-ups. For wet sanding, always use sponges by hand—this method creates less dust but may not provide as smooth a finish as dry sanding.
Avoiding Common Sanding Mistakes
Even with the right drywall sandpaper grit, mistakes can still ruin your project if you’re not careful. The difference between professional results and amateur work often comes down to avoiding a few common errors. These mistakes can lead to visible flaws, wasted time, and health risks. Knowing what problems to watch for helps you finish your project faster and with better results.
Over-sanding and how to stop it
Over-sanding happens when you apply too much pressure or sand too long in one spot. This mistake can damage the paper facing on drywall, creating frayed edges or tears that show through paint. Use light, even pressure when sanding and check your work often to prevent removing too much material. A fine-grit sandpaper between 120 and 150 helps prevent over-sanding damage by removing material more gradually. Allow joint compound to dry fully between coats (typically 24 hours) before attempting to sand.
Using the wrong grit at the wrong time
Choosing incorrect sandpaper grit for drywall leads to poor results and extra work. Coarse grits (40-60) will scratch drywall surfaces and leave marks that show through paint. Too fine a grit for initial sanding makes the job harder and wastes time. Start with medium grits (80-120) for initial work, then move to finer grits (150-180) for finishing. Power sanders need finer starting grits (around 150) because they remove material faster and can damage surfaces when using coarser paper.
Not cleaning between sanding stages
Dust left between sanding stages causes multiple problems on drywall. Dust and debris create a barrier that prevents paint from sticking properly. Leftover particles can cause scratches when you move to finer grits. Clean surfaces thoroughly with a damp cloth or vacuum with HEPA filter between sanding stages. Allow walls to dry completely before applying primer or the next coat of compound.
Skipping safety gear and dust control
Drywall dust contains harmful minerals that can damage your lungs and irritate your eyes. Workers exposed to drywall dust face risks of persistent throat irritation, coughing, and breathing difficulties. Always wear a NIOSH-approved respirator or dust mask, safety goggles, and gloves when sanding drywall. Dust control methods like vacuum-attached sanders can reduce exposure by 80% to 97%. Isolate work areas with plastic sheeting and never use compressed air to clean dust.
Conclusion
Picking the right sandpaper grit makes a big difference in your drywall project results. Most jobs work best when you start with 100-120 grit for first passes, then move to 150-180 grit for smoothing, and finish with 220 grit for touch-ups. This step-by-step approach helps prevent damage to your walls while still getting that smooth finish. We found that power sanders need finer grits than hand sanding because they remove material faster.
Safety matters just as much as technique when sanding drywall. You should always wear masks, eye protection, and gloves to keep dust away from your body. Cleaning between sanding stages also stops problems with paint sticking later. Contact The Smart Fix Handyman for drywall repairs and other handyman tasks if you want professional help without the hassle. The right tools paired with correct grit choices will save you time and effort.
After all, a well-sanded wall creates the base for all your painting work. The effort you put into proper sanding will show through in your final results. Following the grit progression from medium to fine helps you get professional-looking walls without starting over. Therefore, take your time, use the right grits for each stage, and your walls will turn out smooth and ready for paint.
FAQs
Q1. What grit sandpaper is best for drywall? For most drywall projects, start with 100-120 grit for initial sanding, then move to 150-180 grit for smoothing, and finish with 220 grit for final touch-ups. This progression helps achieve a smooth, paint-ready surface without damaging the drywall.
Q2. Is power sanding or hand sanding better for drywall? Both methods have their place. Power sanding is efficient for large areas but requires finer grits (150-180) to prevent damage. Hand sanding is better for detail work and allows for more control, typically starting with slightly coarser grits (100-120). Often, a combination of both methods yields the best results.
Q3. How can I avoid over-sanding drywall? To prevent over-sanding, use light, even pressure and check your work frequently. Start with medium grit sandpaper (120-150) and only sand until the surface feels smooth. Allow joint compound to dry completely between coats, and avoid using grits that are too coarse, which can damage the drywall paper.
Q4. Is it necessary to clean between sanding stages? Yes, cleaning between sanding stages is crucial. Dust left behind can create scratches when moving to finer grits and prevent paint from adhering properly. Use a damp cloth or vacuum with a HEPA filter to thoroughly remove dust between stages, and allow the surface to dry completely before continuing.
Q5. What safety precautions should I take when sanding drywall? Always wear a NIOSH-approved respirator or dust mask, safety goggles, and gloves when sanding drywall. The dust contains harmful minerals that can irritate your lungs and eyes. Use dust control methods like vacuum-attached sanders to reduce exposure. Isolate work areas with plastic sheeting and avoid using compressed air to clean up dust.
Need a Handyman You Can Trust?
Skip the franchise fees. Get local expertise and honest pricing.